How to French Braid: Step-by-Step Guide for Beginners with Photos

“I’ll never forget the look on my patient’s face when she told me her daily French braid was causing traction alopecia along her hairline,” I recall from my 15 years as a a board-certified dermatologist. “She was a busy mom who relied on this elegant style for convenience, but the constant tension had begun to thin her edges.” While the French braid is a timeless, versatile technique—perfect for workouts, work weeks, or special occasions—many beginners struggle not only with the inverted motion and overlapping strands, but also with how to braid without damaging their hair. As a dermatologist, I emphasize a core principle: scalp health depends on even, gentle tension. Too tight can stress hair follicles; too loose, and the braid unravels. This guide breaks down the French braid into simple, manageable steps, with visual descriptions to help you master it from home. By the end, you’ll understand the mechanics, common pitfalls, and how to adapt this skill for various looks—from a half French braid to a sleek ponytail—while keeping your hair and scalp healthy.
Table of Contents
- What You Need to Start Your French Braid Tutorial
- Step 1: Prepare Your Hair for Easy Braiding
- Step 2: Section Your Hair Correctly
- Step 3: The First Cross-Over – Starting the Braid
- Step 4: Adding Hair – The Core French Braid Technique
- Step 5: Securing and Finishing the Braid
- French vs Dutch Braid: Understanding the Difference
- Troubleshooting Common Beginner Mistakes
- Variations: Half French Braid, Side French Braid, and French Braid Ponytail
- Frequently Asked Questions
- Conclusion
What You Need to Start Your French Braid Tutorial
!What You Need to Start Your French Braid Tutorial
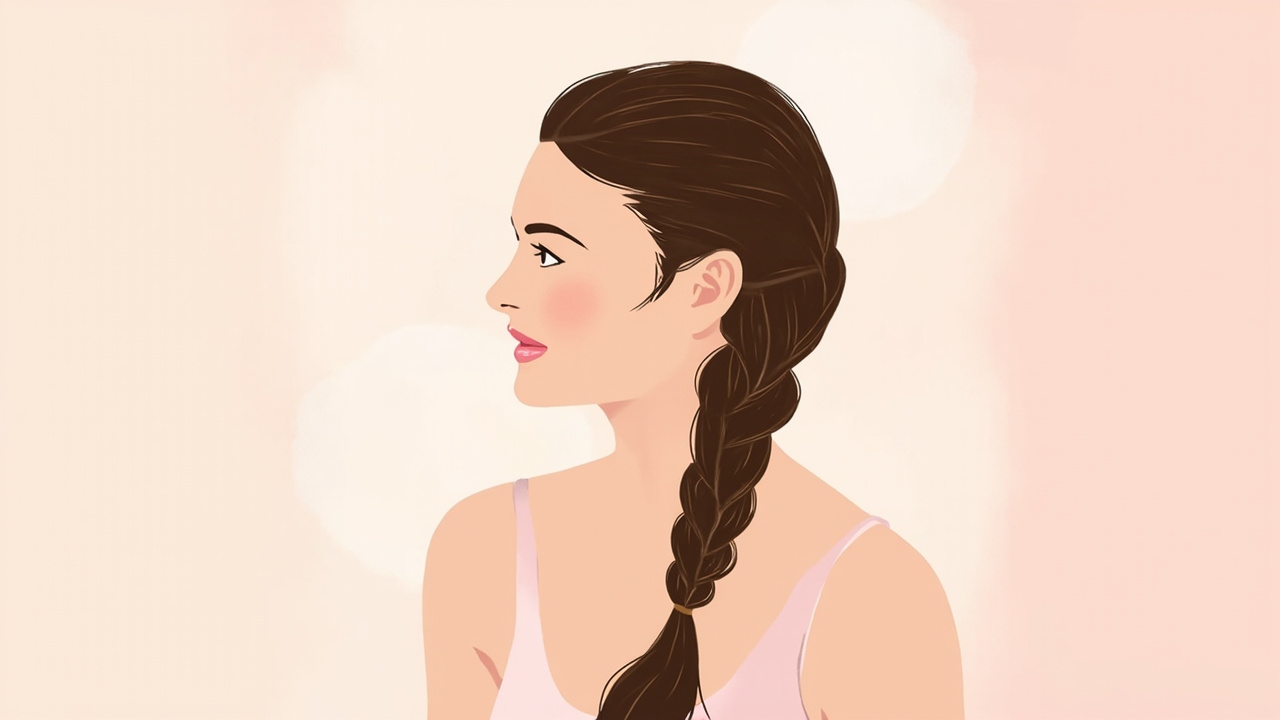
Before diving into the step-by-step instructions, gathering the right tools can make or break your beginner French braid experience. Tension and control are key, and the right equipment provides both.
- A Fine-Tooth Comb: Essential for creating clean, precise partings and smoothing out bumps. A rat-tail comb is ideal for sectioning.
- Hair Ties (Elastics): Use small, clear or matching elastics. Avoid thick, fabric-covered scrunchies for braiding, as they can be bulky and difficult to secure tightly at the base.
- Hair Clips (Optional but Helpful): Sectioning clips help keep unbraided hair out of the way, especially when working on a side French braid or a half-up style.
- Texturizing Spray or Dry Shampoo: For fine or slippery hair, a light mist of texturizing spray adds grip, making it easier to hold sections and prevent the braid from sliding apart. According to the American Academy of Dermatology, using products designed for your hair type can improve manageability and reduce breakage during styling (AAD, 2021).
- A Mirror: Practice in front of a large mirror. For back-of-head braids, a handheld mirror or a two-mirror setup (one behind you, one in front) is invaluable.
Step 1: Prepare Your Hair for Easy Braiding
!Step 1: Prepare Your Hair for Easy Braiding
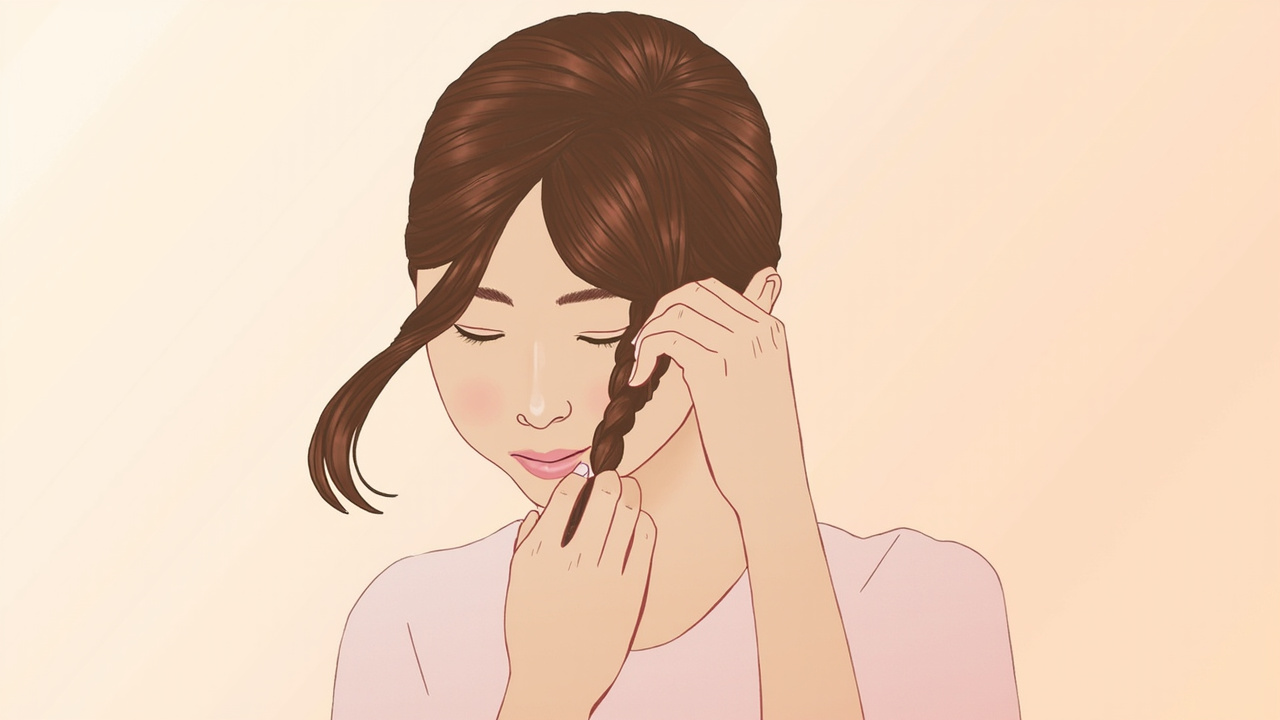
The foundation of any successful French braid is well-prepared hair. Attempting to braid freshly washed, silky-smooth hair can be frustrating, as strands will slip and slide. Here’s how to set yourself up for success.
- Detangle Thoroughly: Brush your hair from the ends upward to remove all knots. Tangles will cause uneven tension and bumps in the braid.
- Add Grip: If your hair is clean and slippery, apply a small amount of texturizing spray, sea salt spray, or dry shampoo. This creates friction, giving you better control over each section. A study from the National Institutes of Health (NIH) indicates that increased hair surface roughness, such as that from texturizing products, can improve the stability of hairstyles (NIH, 2020).
- Damp vs. Dry: Damp hair is easier to control and less prone to flyaways, but it can shrink as it dries. For beginners, slightly damp (not wet) hair is often the sweet spot. Dry hair is perfectly fine if it has texture.
Step 2: Section Your Hair Correctly
Proper sectioning is the most critical step for a beginner French braid. It determines the braid’s symmetry and tightness.
- Gather the Top Section: Starting at your hairline, gather a section of hair from the top of your head, from your forehead to the crown. This should be about 1.5 to 2 inches wide. Think of it as a triangle or a rectangular section.
- Divide into Three Equal Strands: Split this top section into three equal strands: left, middle, and right. Use your fingers as a guide. The strands should be the same thickness to ensure an even braid.
- Hold Correctly: Hold the left strand between your left thumb and index finger. Hold the middle strand with your left middle finger and ring finger. Hold the right strand with your right hand. This grip keeps the strands separate and ready for the next step.
Step 3: The First Cross-Over – Starting the Braid
This is the same motion as a standard three-strand braid. It establishes the foundation.
You have now completed the first cross-over. You should have three distinct strands again, with the right and left strands now in different positions.
Step 4: Adding Hair – The Core French Braid Technique
This is what distinguishes a French braid from a regular braid. You will now incorporate new hair from the sides of your head into each strand before crossing it over.
- Keep Sections Small: Thin sections create a tighter, more intricate braid. Thick sections create a loose, chunky braid.
- Maintain Tension: Hold the strands firmly but not so tight that it hurts. Consistent tension is the secret to a smooth braid.
- Stay Close to the Scalp: When picking up new hair, take it from as close to the scalp as possible to avoid gaps.
Step 5: Securing and Finishing the Braid
Once you reach the nape of your neck and have no more hair to add, you’ll finish with a standard three-strand braid.
French vs Dutch Braid: Understanding the Difference
Many beginners confuse the French braid with the Dutch braid. While they look similar, the technique is opposite.
- French Braid: Strands are crossed over the middle strand. This creates a raised, rounded braid that sits on top of the hair.
- Dutch Braid: Strands are crossed under the middle strand. This creates an inverted, 3D effect that appears to sit inside the hair, often called a “reverse French braid” or “inside-out braid.”
The French braid is generally considered easier for beginners because the overhand motion feels more natural and is easier to see in a mirror. The Dutch braid requires a bit more dexterity to tuck strands underneath.
Troubleshooting Common Beginner Mistakes
Even with a perfect French braid tutorial, mistakes happen. Here’s how to fix the most common issues.
- Loose, Gappy Braid: This usually happens from inconsistent tension or taking too-large sections. Focus on keeping the strands taut and picking up smaller, uniform sections of hair.
- Bumps and Lumps: These occur when strands are not fully detangled or when you pick up uneven sections. Brush your hair thoroughly before starting, and ensure each added section is smooth.
- Braid Slants to One Side: This happens when you add more hair from one side than the other. Consciously pick up equal amounts from the left and right. For a side French braid, this is intentional, but for a center braid, it’s a sign of imbalance.
- Can’t See What You’re Doing: This is the biggest hurdle. Use a second mirror or practice on someone else first. Muscle memory develops quickly, so don’t get discouraged.
Variations: Half French Braid, Side French Braid, and French Braid Ponytail
Once you master the basic technique, you can adapt it for different styles.
Half French Braid
Side French Braid
French Braid Ponytail
Frequently Asked Questions
Why does my French braid always look messy?
Messiness often stems from three factors: uneven sections, inconsistent tension, or hair that is too slippery. Practice sectioning with a comb, maintain a firm grip, and use a texturizing product to add grip. The American Academy of Dermatology recommends using a lightweight styling product to improve hold without weighing hair down (AAD, 2021).
How long does it take to learn to French braid?
For most beginners, it takes 5 to 10 practice sessions to achieve a presentable braid. With daily practice, you can become proficient in 1-2 weeks. Muscle memory is key. Start with simple sections and work your way up to more complex styles.
Can I French braid short hair?
Yes, but it’s more challenging. Hair should be at least shoulder-length to have enough length for the braid to form. For shorter hair, focus on a tight, compact braid and use small sections. A half French braid can also work well on shorter styles.
What’s the difference between a French braid and a Dutch braid?
The difference is in the direction of the cross-over. In a French braid, strands cross over the middle. In a Dutch braid, strands cross under the middle. The Dutch braid creates a raised, 3D effect, while the French braid lies flatter and more rounded.
How do I keep my French braid from falling out?
Use a high-quality hair elastic that fits snugly but doesn’t cause breakage. For extra hold, finish the braid with a light-hold hairspray or a small amount of hair wax on your fingers to smooth flyaways. The NIH notes that proper tension at the base of the braid is critical for long-lasting hold (NIH, 2020).
Conclusion
You May Also Like
Explore more articles in our Health collection:
- How to Minimize Pores: Effective Treatments for Smaller-Looking Pores
- How to Prevent Hair Loss: Proven Methods for Maintaining Thicker Hair
- How to Protect Sunburn: The Complete Guide to Relief, Healing, and Prevention
Mastering the French braid is a rewarding skill that opens the door to countless hairstyles. By following this step-by-step guide, focusing on proper sectioning, consistent tension, and the core technique of adding hair, you can overcome the initial learning curve. Remember, practice is the only secret. Start with a simple center braid, then experiment with variations like the half French braid or side French braid.
Actionable Takeaways:- Start Simple: Master the basic three-strand start and the “add and cross” motion before trying variations.
- Use the Right Tools: A fine-tooth comb, texturizing spray, and a good mirror are non-negotiable for beginners.
- Practice on Damp Hair: It’s more forgiving and easier to control.
- Don’t Aim for Perfection: A slightly messy, “lived-in” braid is often more stylish than a rigid, overly tight one.
- Be Patient: It’s a motor skill. Give yourself grace and keep trying.
For more science-backed beauty tips, explore our guides on 10 Anti-Aging Skincare Tips for a Youthful Complexion and Aloe Vera for Skin: Science-Backed Benefits, Uses, and How to Apply.
Disclaimer: This article is for informational and educational purposes only. It is not a substitute for professional medical advice, diagnosis, or treatment. Always consult a qualified healthcare provider or a licensed cosmetologist for any questions regarding your hair care routine or scalp health.References
Medically Reviewed By
Dr. Michael Park, MD, MPH — Preventive Dermatology SpecialistDr. Park focuses on skin cancer prevention and photoprotection. He earned his MPH from Harvard T.H. Chan School of Public Health and lectures internationally on sun safety.
This article was medically reviewed on 2026-06-09 for accuracy and completeness.
Medical Disclaimer: This article is for informational purposes only and does not constitute medical advice. Always consult a qualified healthcare provider for diagnosis and treatment of any medical condition. Individual results may vary.